Transform your front porch into a warm autumn oasis with these budget-friendly DIY projects that’ll have your neighbors asking for your decorating secrets!
Hey mama! Can we talk about how fall porch decor just hits different? There’s something about walking up to a beautifully decorated autumn porch that makes you want to grab a pumpkin spice latte and settle in for the coziest season of the year.
As millennial moms, we’re juggling approximately 847 things at once (give or take), but creating that perfect fall welcome doesn’t have to be another overwhelming task on our endless to-do lists. I’ve rounded up 5 stunning DIY fall porch decor projects that look like you spent hours crafting but actually come together in less time than it takes to watch an episode of your favorite show.
Plus, I’ve included all the Amazon links for supplies because ain’t nobody got time to hunt around multiple stores with kids in tow!
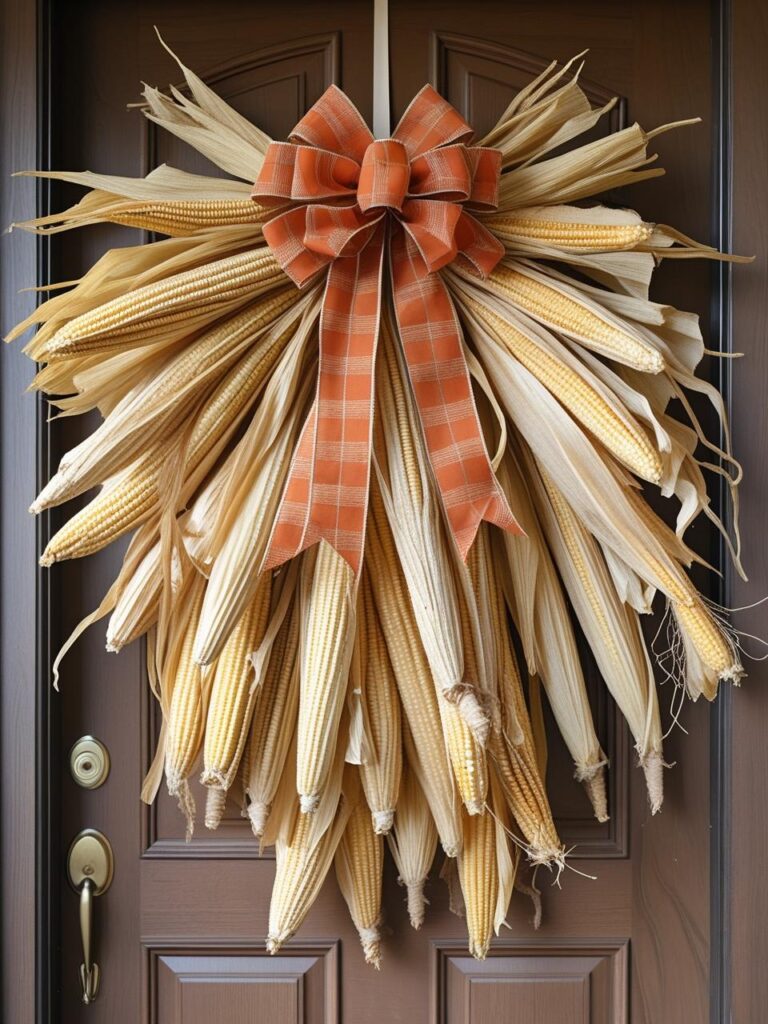
1. Rustic Corn Husk Door Swag
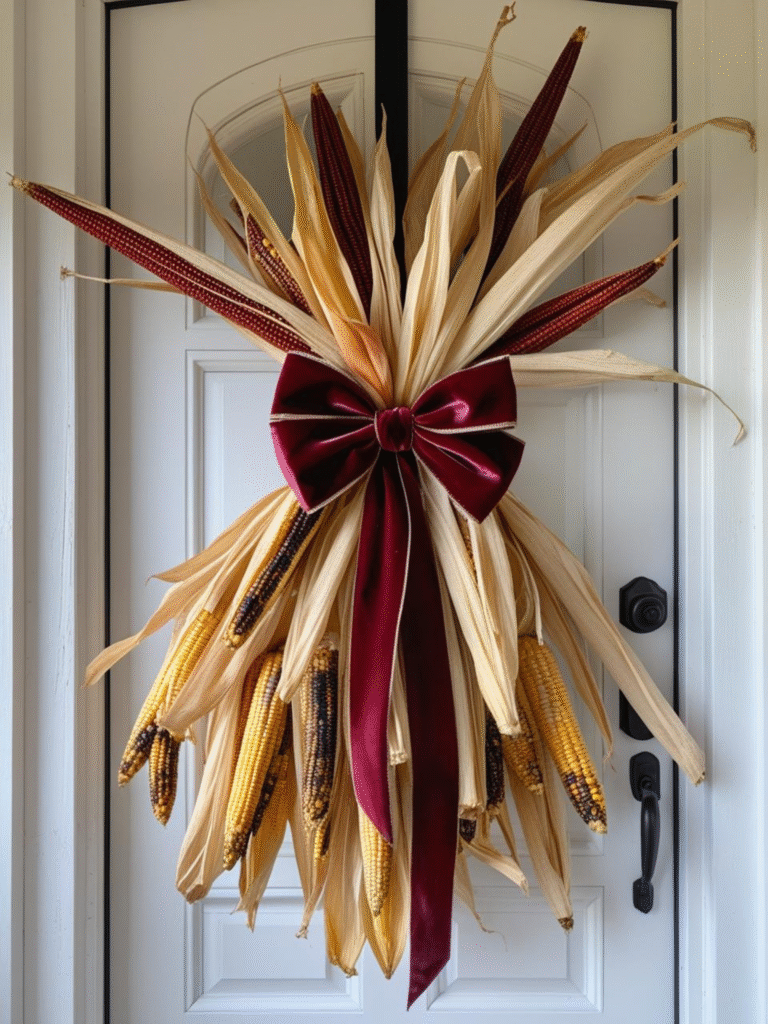
Time needed: 45 minutes
Difficulty: Beginner
Instagram-worthy factor: 💯
There’s something so authentically fall about corn husks, and this swag gives major farmhouse vibes without the farmhouse budget.
What You’ll Need:
- Natural corn husks (dried) – $12.99
- Fall ribbon in burgundy or orange – $8.99
- Hot glue gun and glue sticks – $9.99
- Jute twine – $6.99
- Command strips for hanging – $7.99
Instructions:
- Prep your corn husks: If they’re not already dried, lay them out for 24 hours. You want them pliable but not brittle.
- Create the base: Take 8-10 corn husks and fan them out in a half-circle shape. Secure the bottom with jute twine, wrapping tightly several times.
- Add layers: Layer 6-8 more husks slightly shorter than the first layer, securing with twine again. This creates that full, cascading look.
- Finish with flair: Hot glue your fall ribbon in a generous bow where the twine is wrapped. Let some ribbon tails hang down for movement.
- Hang it up: Use Command strips on your door to avoid nail holes (especially important if you’re renting like half of us millennials!).
Pro mom tip: Make this while the kids are distracted with screen time. The hot glue gun and little fingers don’t mix, trust me on this one!
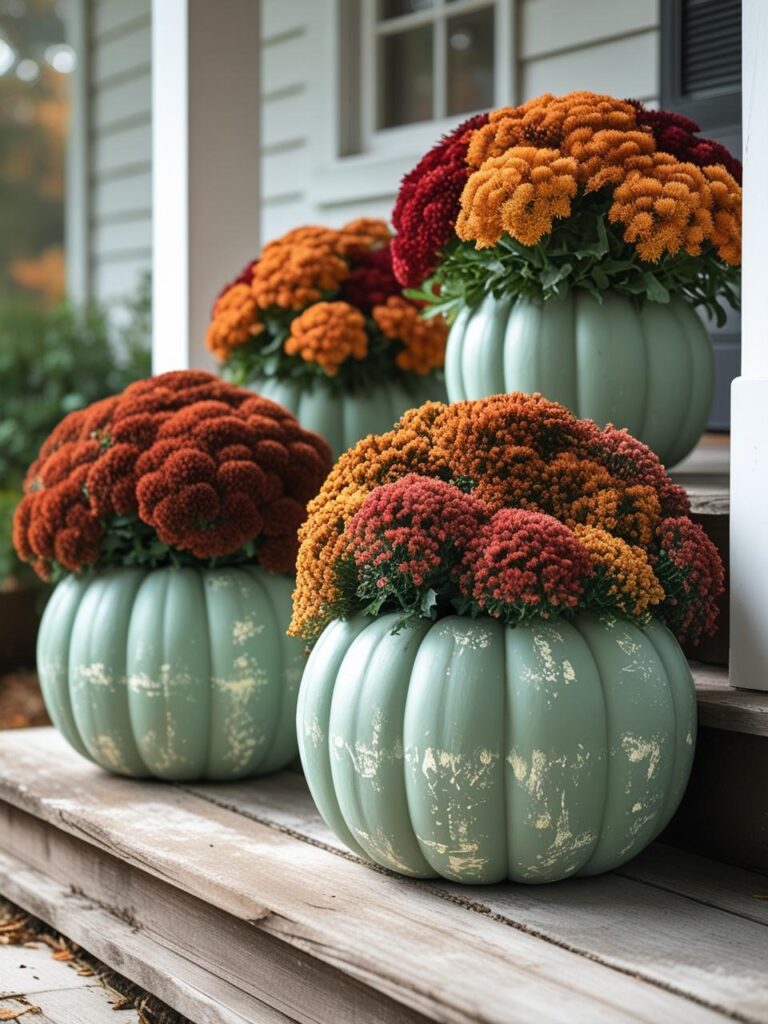
2. Painted Pumpkin Planters for Mums
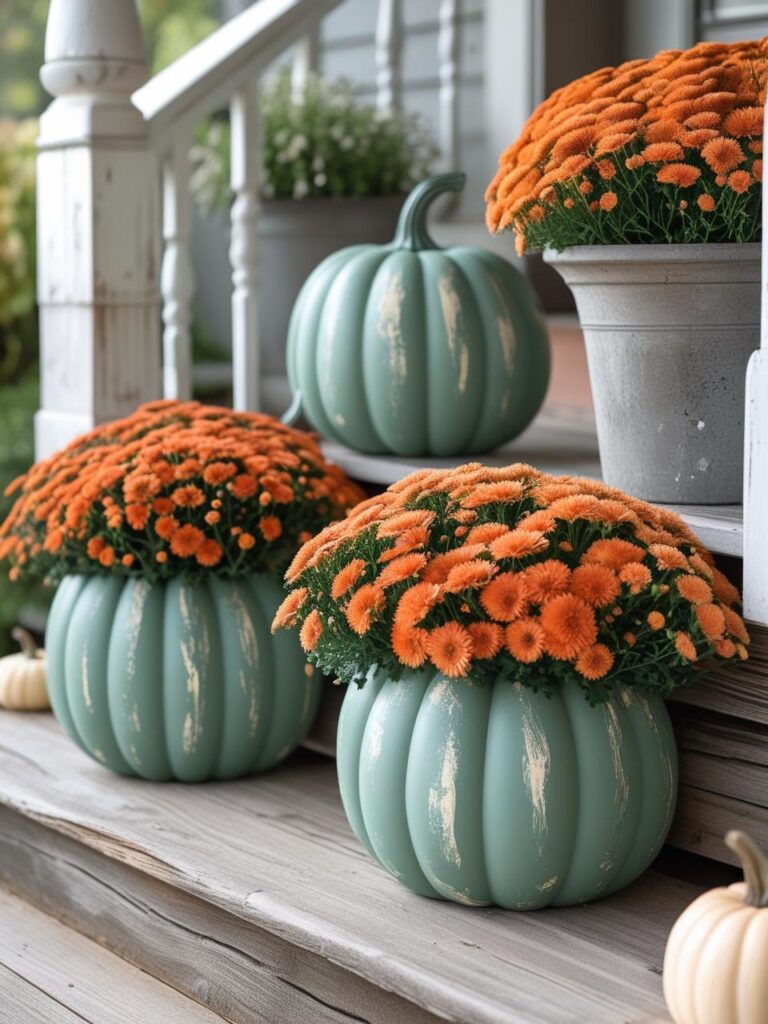
Time needed: 1 hour (plus drying time)
Difficulty: Easy
Instagram-worthy factor: Off the charts
Nothing says “I have my life together” like perfectly coordinated fall planters, even if you’re currently wearing yesterday’s leggings and dry shampoo is your best friend.
What You’ll Need:
- Foam pumpkins (set of 4) – $21.99
- Acrylic paint in sage green and cream – $16.99
- Small fall mums – $24.99 (set of 4)
- Craft drill bit set – $12.99
- Plastic plant pots (4-inch) – $11.99
- Foam brushes – $5.99
Instructions:
- Hollow out your pumpkins: Use the craft drill to carefully hollow out the top of each foam pumpkin, creating a hole slightly smaller than your 4-inch pots.
- Paint base coat: Apply your base color (I love sage green for a modern twist on traditional fall). Let dry completely – about 30 minutes.
- Add details: Once dry, dry brush cream paint over raised areas for that perfectly imperfect distressed look that’s very “I definitely didn’t try too hard but somehow nailed it.”
- Test fit: Make sure your plastic pots fit snugly in the holes. Adjust if needed.
- Plant and place: Pop your mums (still in their plastic pots) into the pumpkin planters. Arrange on your porch steps or flanking your front door.
Millennial mom hack: Buy the mums already potted and just drop them in. We’re going for impact, not a gardening degree!
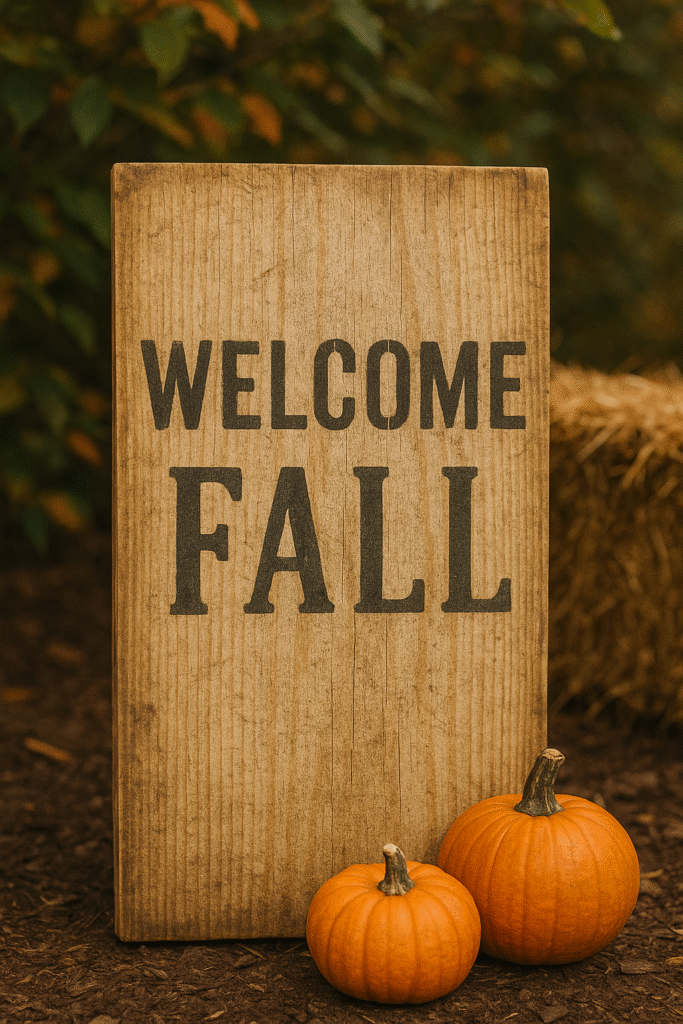
3. Wooden “Welcome Fall” Sign with Stenciling
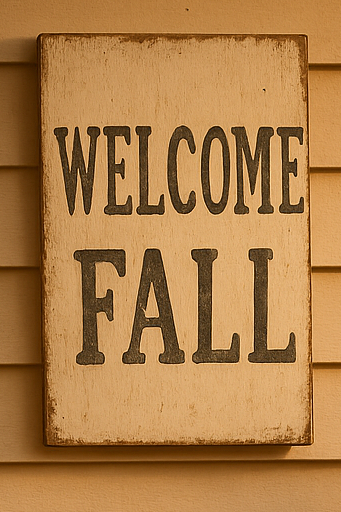
Time needed: 2 hours
Difficulty: Intermediate
Instagram-worthy factor: Story-worthy for sure
This is the kind of sign that makes people think you’re way craftier than you actually are. Let them think that!
What You’ll Need:
- Wooden sign blank (16″ x 8″) – $19.99
- Fall stencil set with letters – $13.99
- Chalk paint in cream and charcoal – $22.99
- Stencil brushes – $8.99
- Sandpaper (fine grit) – $6.99
- Outdoor polyurethane finish – $16.99
Instructions:
- Prep your wood: Lightly sand the wooden sign to create a smooth surface for painting.
- Base coat: Apply two coats of cream chalk paint, letting each coat dry completely (about 45 minutes between coats).
- Position your stencil: Center your “Welcome Fall” stencil on the sign. Tape down all edges – trust me, paint bleeds are not cute.
- Stencil technique: Using your stencil brush, dab (don’t brush!) charcoal paint through the stencil. Build up color gradually rather than trying to get it perfect in one go.
- Distress lightly: Once completely dry, lightly sand edges and high spots for that “I’ve had this sign for years” vintage vibe.
- Seal it: Apply outdoor polyurethane to protect against weather. Because October rain is definitely happening.
Real talk: If stenciling makes you want to throw things, just freehand it or use vinyl letters. The goal is a sign you love, not a Pinterest perfect replica that stressed you out.
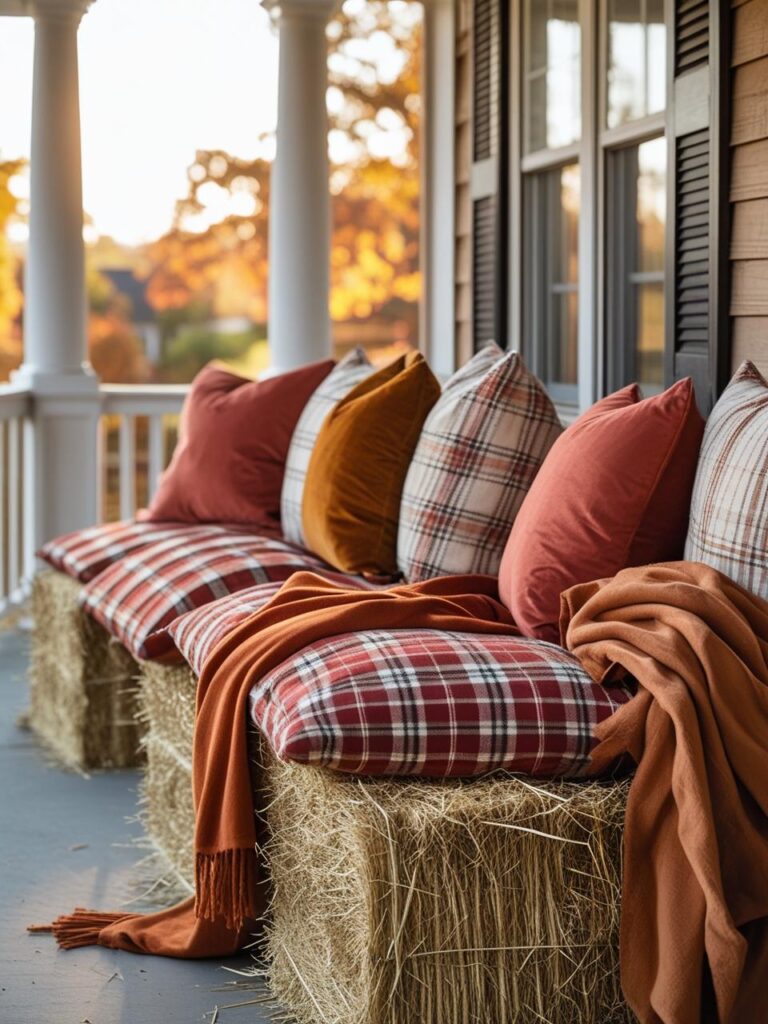
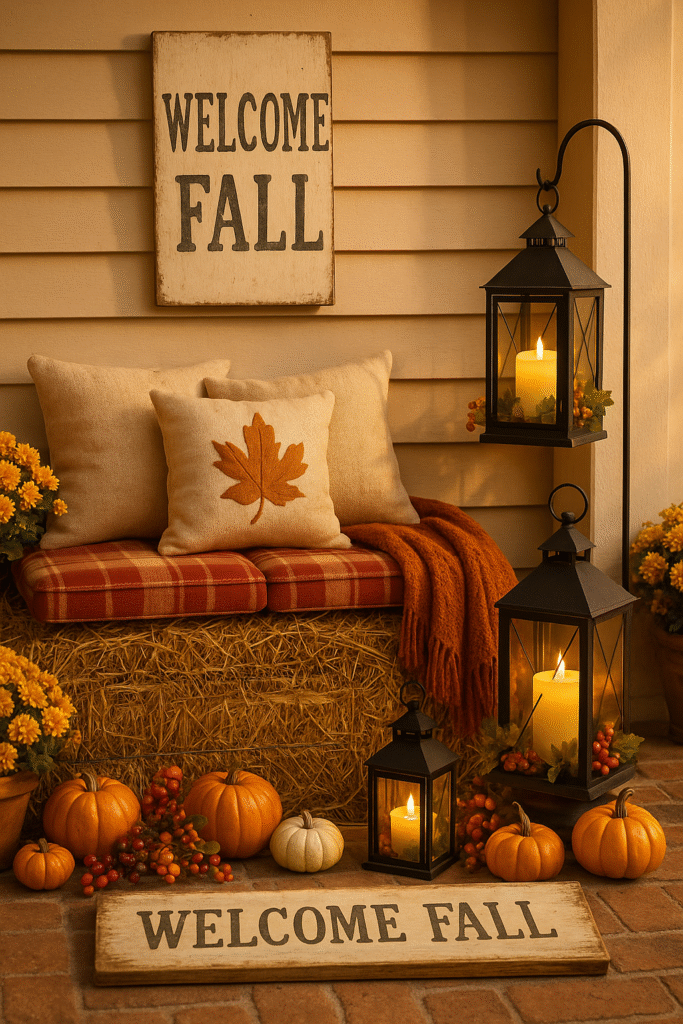
4. Hay Bale Seating with Plaid Cushions
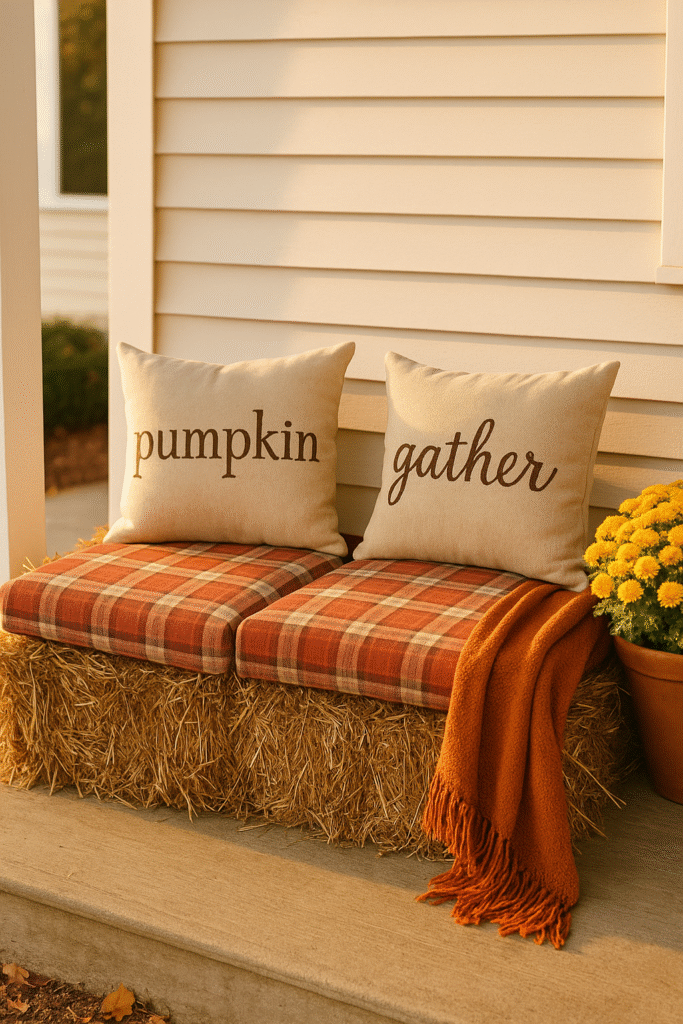
Time needed: 30 minutes setup
Difficulty: Super easy (basically advanced furniture arranging)
Instagram-worthy factor: Cozy vibes maximum
This is for when you want that rustic fall farmhouse look but you also want your guests (and your own backside) to be comfortable.
What You’ll Need:
- Small hay bales (set of 2) – $29.99
- Outdoor plaid cushions – $34.99
- Outdoor throw pillows in fall colors – $26.99
- Waterproof outdoor throw blanket – $19.99
Instructions:
- Position your bales: Place hay bales where you want your seating area. Near your front door works great, or create a cozy corner on a larger porch.
- Add comfort: Top each bale with a plaid cushion. The outdoor ones are worth it – they won’t get soggy with morning dew.
- Style it up: Add throw pillows in complementary fall colors. Mix patterns but keep the color palette cohesive.
- Finishing touches: Drape the throw blanket casually over one bale. This screams “come sit and stay awhile.”
Mom life reality check: These actually make great extra seating when you’re handing out Halloween candy and need somewhere to park while the kids run around the neighborhood.
5. Lantern Displays with Battery Candles and Fall Greenery
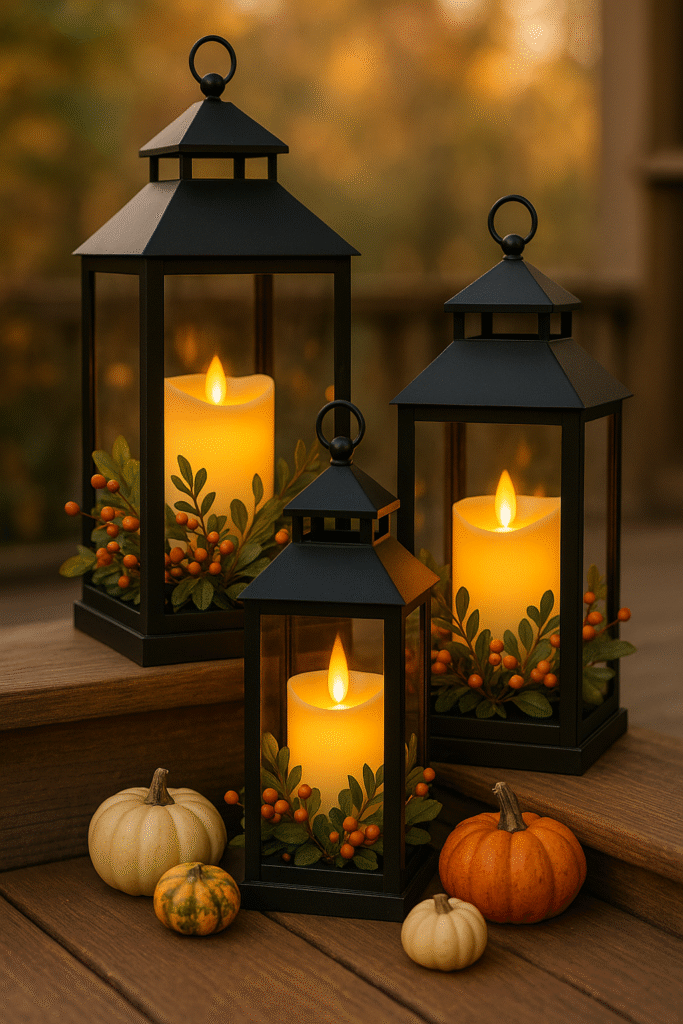
Time needed: 20 minutes
Difficulty: Foolproof
Instagram-worthy factor: Magical golden hour vibes
Nothing creates ambiance like flickering candlelight, but nothing ruins the vibe like worrying about actual flames with kids around. Battery candles for the win!
What You’ll Need:
- Decorative lanterns in various sizes (set of 3) – $42.99
- Battery operated pillar candles with timers – $18.99
- Artificial fall greenery and berries – $16.99
- Mini pumpkins and gourds – $14.99
Instructions:
- Arrange your lanterns: Group them at varying heights on your porch. Try one on the ground, one on a plant stand or stool, and one hanging from a shepherd’s hook.
- Add the “candles”: Place battery operated pillar candles inside each lantern. Set the timers so they automatically turn on at dusk – because remembering to turn on porch decor is just one more thing we don’t need to mental load.
- Tuck in greenery: Add small sprigs of artificial fall greenery around the base of the candles inside each lantern.
- Scatter the extras: Place mini pumpkins and gourds around the base of each lantern for that abundant harvest look.
Time-saving tip: Buy the greenery that’s already arranged in picks. You can just stick them right into the lanterns without any additional arranging required.
Bringing It All Together
Here’s the thing about fall porch decor – it doesn’t have to be perfect to be beautiful. Mix and match these projects based on your space, budget, and energy level. Maybe you do all five, maybe you pick two that speak to you. Both options create a welcoming fall entrance that makes you smile every time you come home.
Budget breakdown:
- All 5 projects: ~$275
- Pick any 3: ~$150-175
- Just the lanterns + painted pumpkins: ~$85
Timeline for busy moms:
- Spread these projects over a weekend
- Do prep work during nap time
- Recruit older kids to help with simple tasks (they love being included!)
- Remember: done is better than perfect
The best part? These decorations will work from September through Thanksgiving, giving you maximum impact for your effort. And when December hits, you can easily transition most pieces by swapping out fall elements for winter ones.
Your Fall Porch Awaits
Ready to create that dreamy fall entrance that makes your house the envy of the neighborhood? Start with one project and build from there. There’s something so satisfying about creating a beautiful space with your own hands, especially when it welcomes everyone who visits your home.
Which project are you most excited to try? I’d love to see your creations – tag me on Instagram [@yourbloghandle] and use #millenialmomfallcrafts so I can cheer you on!
Happy decorating, mama! You’ve got this.
This post contains affiliate links, which means I may earn a small commission if you purchase through these links at no extra cost to you. These funds help keep this blog running and full of the content you love!